
The laser Cutter performs two main operations.
1. One is vector cutting means throw cutting operation.
2. Second is Raster means etching operation.
1. Laser Cutter.
2. Computer for communication.
3. Air Filter for filter the smell while cutting the material.
4. Air Compressor for compressing the air between laser machine.
We can work on Materials such as acrylic, wood, cardboard and paper. So now we will go through the process.
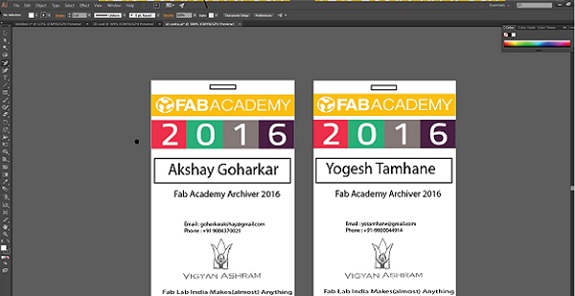
Laser cutter assignment i want to make Fab academy ID cards for my own
I Installed Adobe Illustrator CC 2015 trial version in my PC
And visited some tutorials of Illustrator
As per tutorials i started working on illustrator its very easy and user friendly
Then just started illustrator and went to file new and put the values for id card 86*53mm
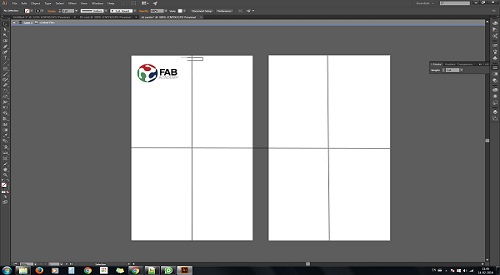
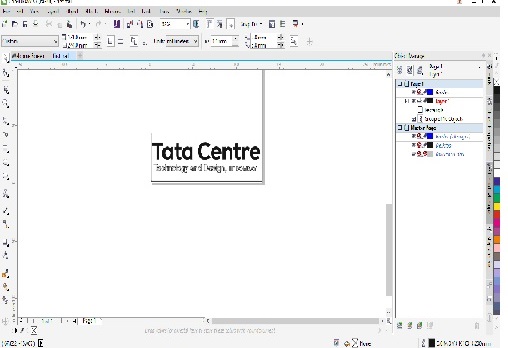
I just started working for my id card design, and complete it then Saved into Illustrator file.
Then i just loaded a file in CorelDraw software. The CorelDraw is a design software.
First we have to set up our page size.For our part we will use balsa wood size 60cm*30cm of 3 mm thickness.
According that we will change the dimensions. For the dimensions we will go to: 1. Files Document Properties. 2. Here we will change the Default units in mm. we can change the units into Inches, cm also as per requirement.
1. For Raster/Engraving we have to select Line width option in Object Properties and the width size should be none and Outline colour should be Black option.
2. For vector/cutting we have to select Line width option in Object Properties and the width Should Hairline option.
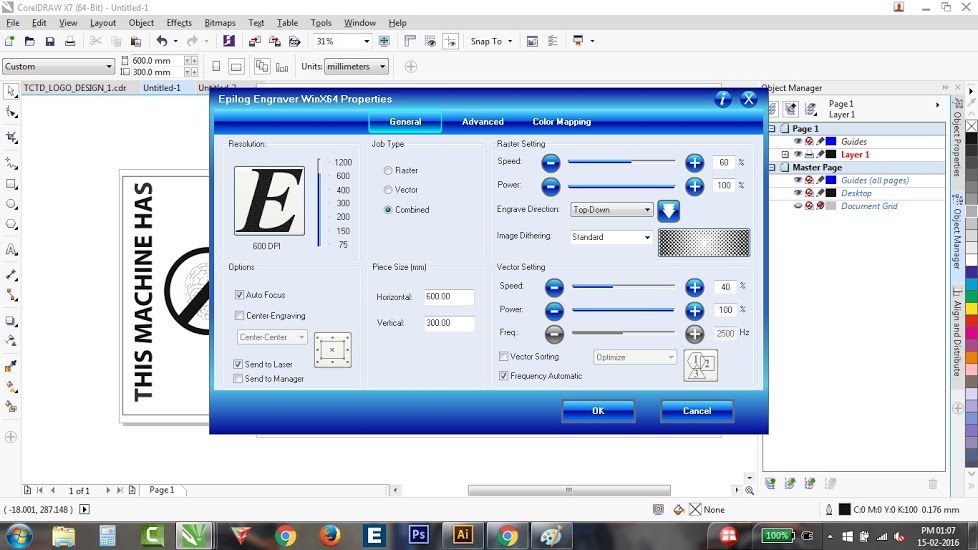
Then i went to print properties and set the raster speed 60%, power 100%, vector speed 40% power 100%, frequency automation and auto focus(as per recommendation for 40watts laser cutter).
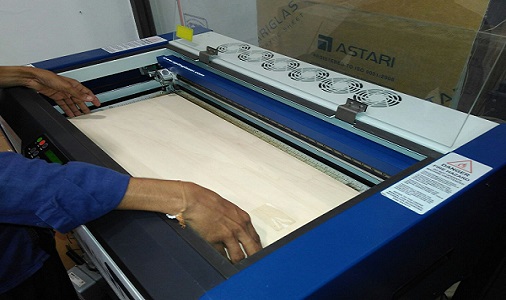
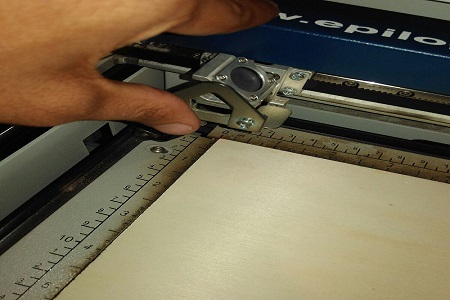
After completing every thing just started the laser cutter, air compreser and filter, and gives the commnd of OK.
Now its come on lasser cutter display, then on the pointer, off the X,Y axis and set the home position of wood.
After finishing the process we will going to press Print command on computer.
Then i press the go button on machine and first it started the roater then cutting.
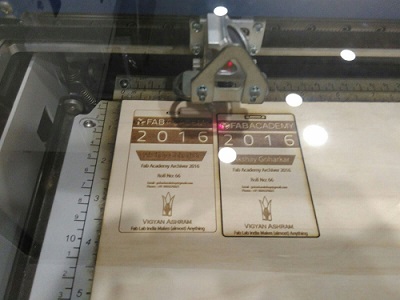
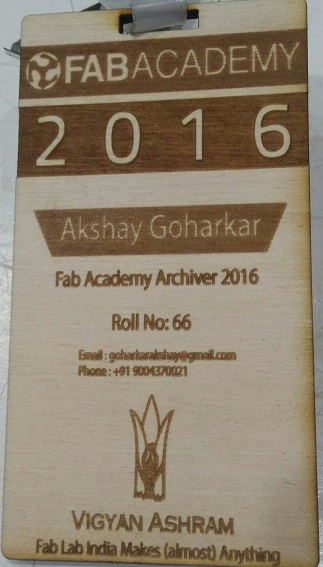
And here is the my final object.
So i done with my Fab Academy ID card.
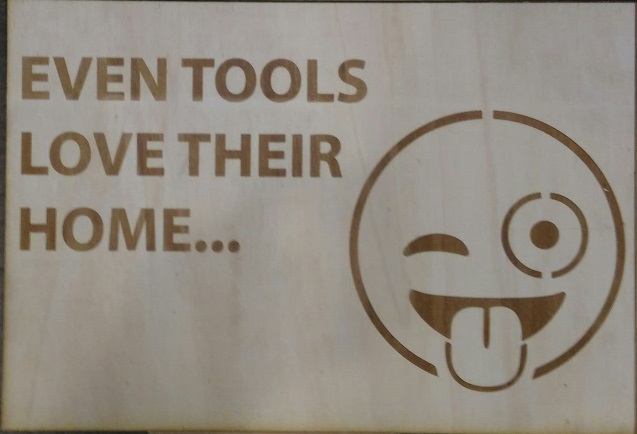

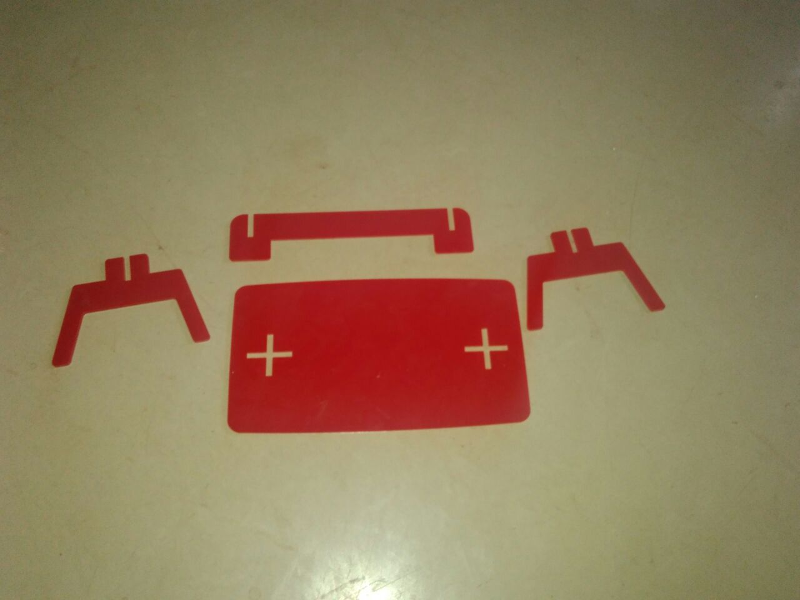
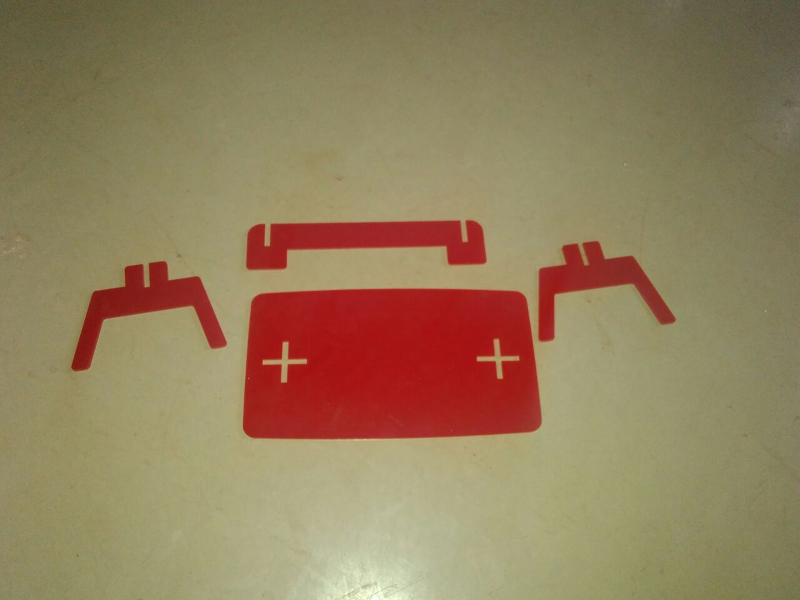
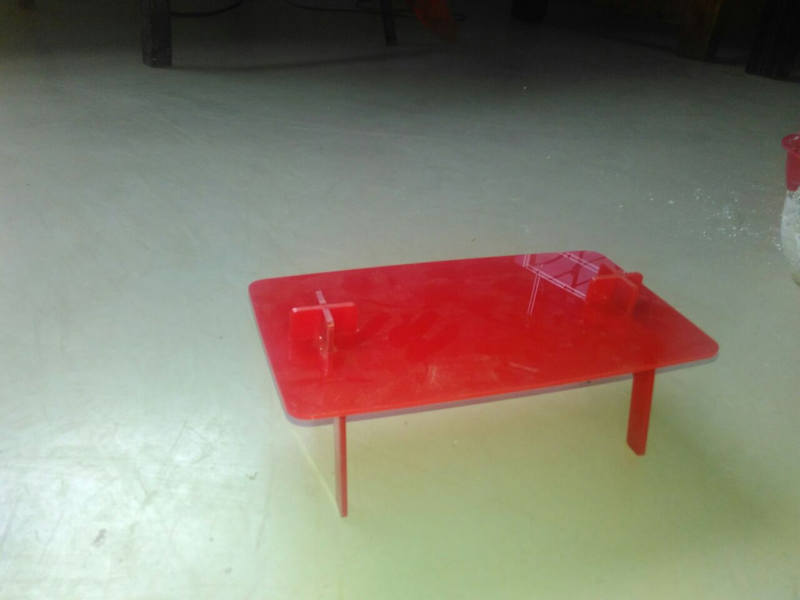
For press fit assembly i taught i will check the shopbot assignment whether it is work or not, So i just scale it done and changes the inner dimension according the Acrlyc thikness And made those designs finally.
1. Collect all the required material such as:
Cutter, AC Adapter, Separating Knife, Roller Base, Twister, Material, Lan Cable And Laptop.
2.Switch On the machine and laptop as well.
3.Load the material from the back side of the machine by using roller base and pull out from the Grit rollers till the guide lines and load the material by using loading leaver.
4.Control Panel (The Right side of machine): By using this control you can set up the machine.
1. Display: This displays various setting menus and other information.
2. TEST Key: Pressing and holding this for one second or longer cuts a pre-registered test pattern.
3. MENU Key: Pressing this repeatedly switches sequentially among the presently set cutting conditions, the menu mode, and the width-display screen.
4. FORCE Key: This displays the menu for adjusting the blade force.
5. PEN FORCE Slider: This lets you fine-tune the blade force. You can even perform adjustment while cutting is in progress.
6. PAUSE Key: This interrupts the operation in progress. Pressing it a second time resumes the operation.
7. ORIGIN Key Pressing and holding: this for one second or longer sets the origin point at the present location of the blade.
8. Cursor Keys: You use these to perform such operations as moving the cutting carriage or material, and selecting and setting various menu items.
9. ENTER Key: This is used to choose menu items and confirm settings.
10. POWER Button Pressing: this switches on the power, making the button light up blue. To switch off the power, you hold it down for one second or longer.
Then i just import my design in coreldraw and for text i gives command of hairline for logo we with both outline or hairline. Make sure you save the file as .pdf Lines that you want cut should be 0.01 mm thick. Everything else will be rasterized.
THen i just Open my Document in Adobe PDF reader on the computer. Press the [CTRL]+[P] buttons to print. Click on the [PROPERTIES] tab to set the vinyl cutter's options. There you will need to determine the settings that correspond with the measurement you have placed in the vinyl cutter.

Then just go and hear is my object its very well done, but every whenever your using just checked the once force of machine.
For the cutting of vynyl on roland modela is 90-110

